


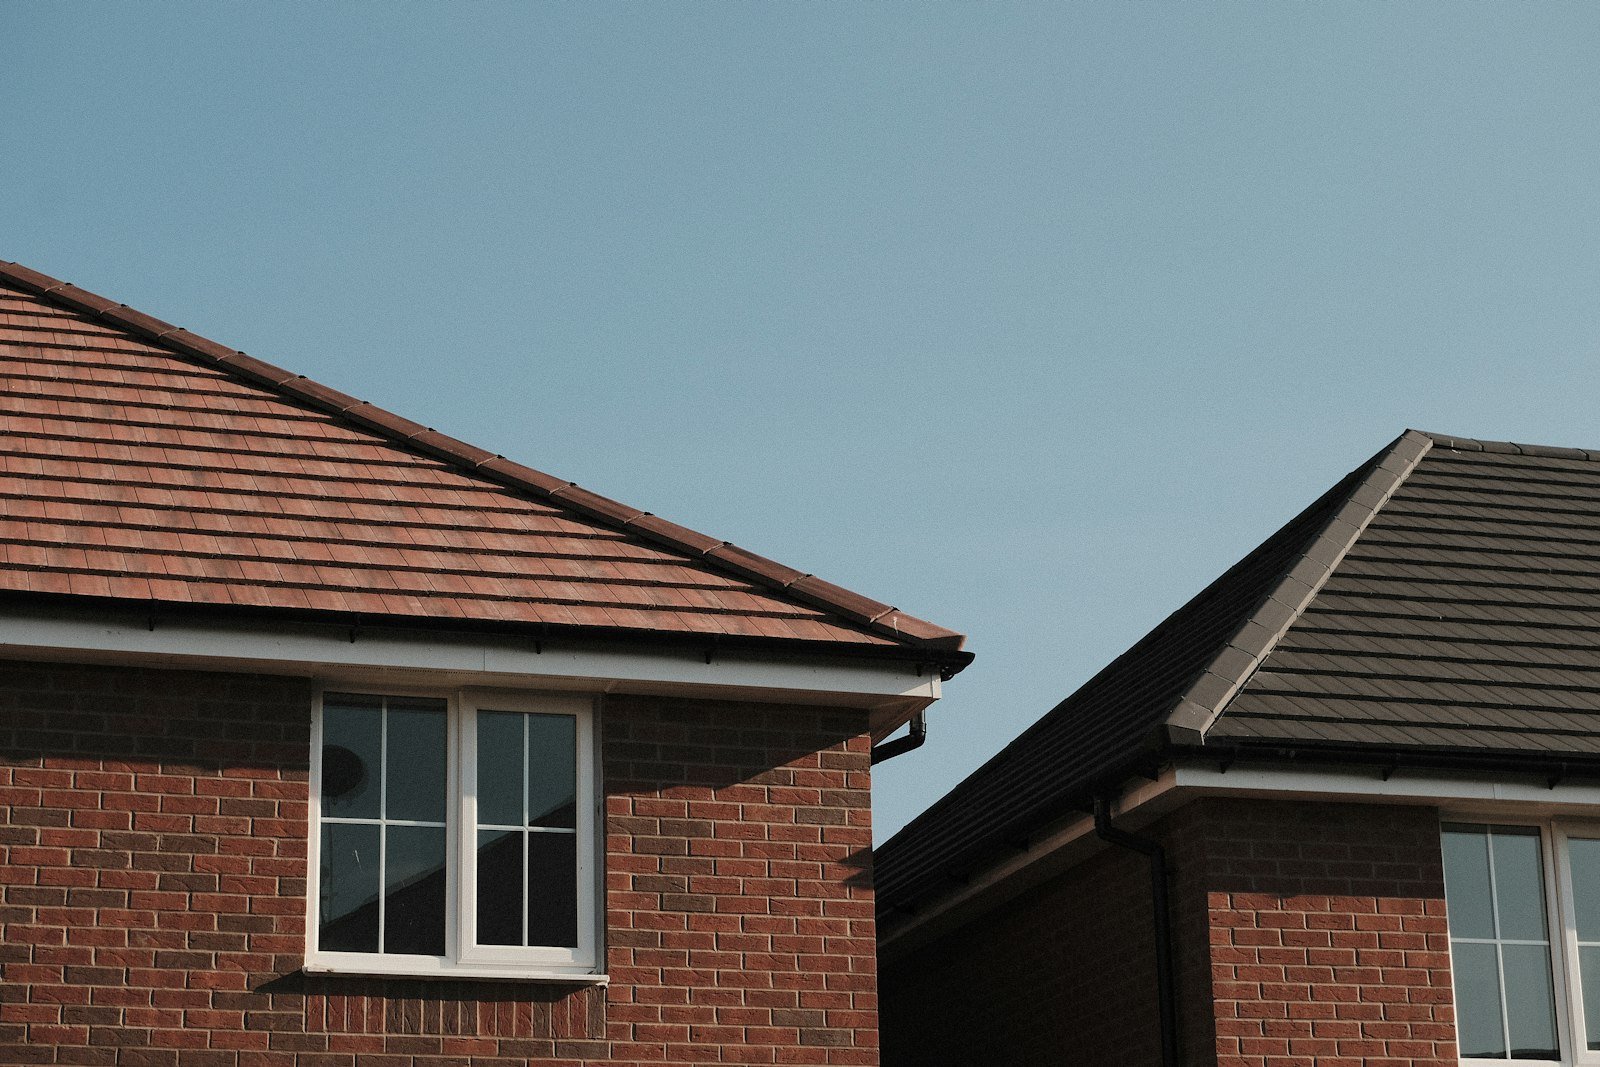
Roof ventilation is the airflow that carries damp air out of a loft before it can condense on the timbers and underlay. In most British houses, outside air comes in low down at the eaves and leaves higher up, through the ridge or tile vents. When that path is blocked, often by insulation pushed into the eaves, moisture settles inside the roof. Over time it stains and rots the wood.
In short
| Question | Short answer |
|---|---|
| Why ventilate a roof? | To remove moisture that rises from the home into a cold loft |
| Where does air go in? | Usually at the eaves, along the bottom edge of the roof |
| Where does it go out? | At the ridge, through tile or slate vents, or both |
| Most common fault | Loft insulation blocking the eaves |
| Main warning signs | Damp or dripping underlay, black marks on timber, rusty nails, musty smell |
| Does every roof need it? | Cold roofs do; warm roofs follow different rules |
Why a loft needs to breathe
Cooking, showers, drying washing and breathing put water vapour into the air of every home. Warm, moist air rises and finds its way into the loft through the hatch, around light fittings, pipes and cables.
Most British houses have a cold roof: the insulation lies on the loft floor, so the loft itself stays close to the outside temperature. In winter, the vapour that reaches it meets cold timber and underlay and condenses. Ventilation brings in outside air that carries the moisture away before it settles.
A warm roof is different. The insulation follows the slope of the rafters and the loft space becomes part of the heated house, as in many loft conversions. It is designed with its own layers and does not rely on loft ventilation in the same way.
How air moves through a cold roof
- Low-level vents at the eaves let outside air in along the bottom of each slope. They may be a slot above the fascia, vents in the soffit boards or a purpose-made eaves ventilator.
- High-level vents let air out near the top: a ventilated ridge with a gap under the ridge tiles, or tile and slate vents set into the roof covering.
- The airflow path runs between the two, across the loft and just under the underlay.
The British Standard for managing moisture in buildings, BS 5250, is turned into practical figures by tile manufacturers. Roofing guides quoting Marley’s guidance give these figures for a roof with a traditional non-breathable underlay:
- a continuous gap at the eaves of 25 mm for pitches of 15 degrees or less, and 10 mm for steeper roofs;
- an extra 5 mm continuous gap at high level on pitches over 35 degrees, spans over 10 metres, and lean-to or mono-pitch roofs.
These are design figures for a roofer, not a DIY checklist. A breathable underlay changes the requirements, so follow the underlay maker’s instructions and your roofer’s advice.
What stops a roof breathing
- Insulation pushed into the eaves, often during a later insulation upgrade. Pulling it back slightly or fitting rigid eaves trays keeps an air channel open while still insulating up to the wall.
- A new underlay or re-roofing done without the right vents.
- Ridge or soffit work that leaves out or covers the vents.
- Spray foam applied to the underside of the roof, which can trap moisture against timbers.
- A very leaky ceiling, with open downlights, an unsealed hatch or gaps around pipes, that lets more moist air in than the vents can remove.
See our guide to loft insulation for how to insulate without blocking the eaves.
Signs of poor roof ventilation
Check the loft on a cold morning, with a torch:
- beads of water on the underside of the underlay or dripping from nail points;
- dark staining or mould on rafters and battens;
- rusty nails, damp insulation or a musty smell;
- frost on the underside of the roof in very cold weather.
Condensation is not the same as a leak. A leak usually appears after rain, under one specific point. Condensation appears in cold, still weather and spreads across a whole slope. The fixes are completely different, so work out which you have before paying for repairs.
Improving ventilation
- Seal the ceiling first: draught-proof the loft hatch and gaps around pipes and fittings. This reduces the moisture reaching the loft and is often better value than adding vents.
- Reduce moisture at source: extractor fans in kitchen and bathroom, vented to outside and not into the loft. See how to stop condensation on windows and positive input ventilation.
- Clear the eaves: pull insulation back from the eaves and fit eaves trays if needed.
- Add vents: soffit, tile, slate or ridge vents fitted by a roofer, sized for your roof and underlay.
Working on a roof is dangerous. Leave anything above loft level to a competent roofer. More guides are in the Housing section.
