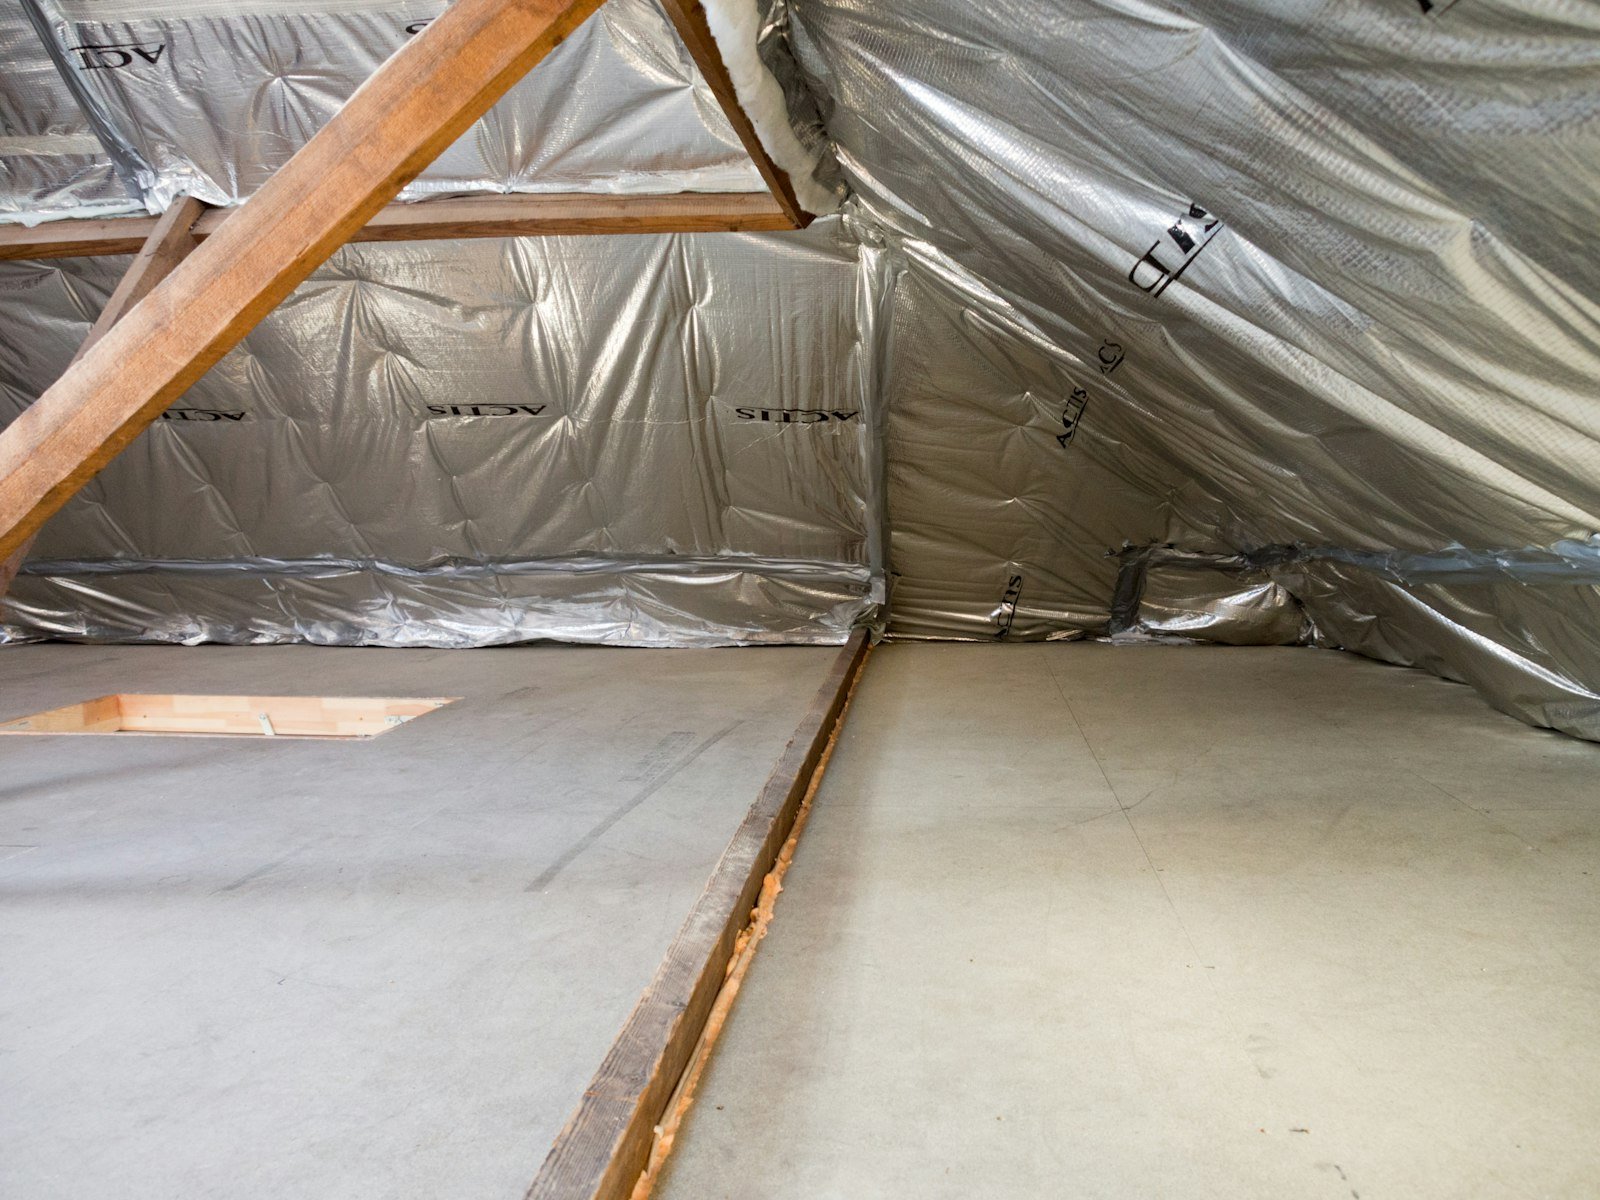
Loft insulation is usually the first insulation job worth doing in a house with a pitched roof: heat rises, the loft is easy to reach, and the materials are simple. The job is not just about rolling out more wool, though. The depth, the choice between a cold and a warm loft, and what happens to ventilation, pipes and stored boxes decide whether the result is a warmer house or a damp roof.
In short
| Question | Short answer |
|---|---|
| How thick | 270mm for mineral wool, the depth recommended by Energy Saving Trust; other materials need a different depth for the same result |
| Worth topping up? | Yes if you have 100mm or less; many older homes have only 25 to 100mm |
| Cold or warm loft | Cold: insulate the loft floor. Warm: insulate under the roof slope, for a loft you use or heat |
| Storage | Raise the boards on loft legs or cross-joists; never squash the insulation |
| The trap | Blocking the eaves ventilation, which can lead to condensation and rot |
| After insulating | Lag pipes and the water tank in the loft, insulate and draught-proof the hatch |
How much insulation you need
What matters is the thermal resistance, R, in m²K/W: the higher it is, the less heat gets through. It depends on the thickness and on the material’s thermal conductivity (lambda, in W/mK), printed on the packaging:
R = thickness in metres ÷ lambda
Mineral wool rolls often have a lambda around 0.040 to 0.044 W/mK. At 270mm and 0.040, R = 0.27 ÷ 0.040 = about 6.75 m²K/W. That is why 270mm is the usual target for mineral wool. A material with a lower lambda, such as rigid PIR board, reaches the same R with less thickness; one with a higher lambda needs more.
What topping up changes
A simple estimate for a 50 m² loft floor, with a 20 °C difference between the house and the loft on a cold day, counting only the insulation (the joists, plasterboard and air films change the real figure a little):
- With 100mm at 0.040: R = 2.5, U = 1 ÷ 2.5 = 0.40 W/m²K. Heat loss: 0.40 × 50 × 20 = 400 W.
- With 270mm: R = 6.75, U = 0.15 W/m²K. Heat loss: 0.15 × 50 × 20 = 150 W.
Going from 100 to 270mm cuts the loss through the ceiling by more than half on that day. What it saves on your bill depends on your heating system, your tariff and how many cold days you get, so treat any headline saving figure as an average for a typical house, not a promise.
Cold loft or warm loft
A cold loft is the usual choice when the loft is just for storage. The insulation goes on the loft floor, between the ceiling joists and then across them, so the heat stays in the rooms below and the loft itself stays cold.
- A first layer between the joists, typically 100mm.
- A second layer laid at right angles over the joists, to cover them and reach 270mm in total.
Joists are a weak point: wood insulates far less than wool, so leaving their tops exposed lets heat escape along every one of them.
A warm loft keeps the insulation at the roof slope, between and under the rafters. The loft space stays close to the temperature of the house. It is the right choice if you use the loft as a room, or plan a conversion, and it protects pipes and tanks without lagging them.
It is more complex: the rafters are often too shallow for the depth needed, and the roof needs a ventilation gap above the insulation unless it has a breathable membrane designed for it. It is usually a job for an installer, and converting a loft into a habitable room brings in Building Regulations.
Ventilation: the step people skip
A cold loft needs air moving through it. In winter, warm moist air from the house leaks up through the ceiling, light fittings and the hatch. With the loft now colder than before, that moisture can condense on the underside of the roof and the timbers.
- Keep the eaves clear: stop the insulation short of the edge, or fit eaves ventilation trays that hold a channel open.
- Do not push insulation against the underside of the roof felt.
- If you see damp, mould or water marks in the loft already, find the cause before insulating.
Boarding a loft without crushing the insulation
Insulation works by trapping air. Squashed under boards, 270mm of wool can perform like a fraction of that thickness. To store things:
- Fit loft legs or a raised frame of cross-joists, so the boards sit above the full depth of insulation.
- Leave a small gap between the top of the insulation and the boards.
- Check the joists can take the weight of what you store.
Pipes, tanks, cables and lights
A colder loft means a greater risk of frozen pipes. Once the floor is insulated:
- Lag the pipes and insulate the cold water tank on its top and sides, but not underneath: the little heat rising from the house below helps stop it freezing.
- Lay electrical cables on top of the insulation rather than buried in it, so they do not overheat.
- Keep insulation away from recessed downlights unless they are rated for contact with insulation, or fit protective covers made for them.
- Insulate the loft hatch with a rigid board and fit draught strip around it.
DIY or installer
Laying rolls in an easy, dry loft with a regular joist layout is a manageable DIY job. Wear gloves, long sleeves, goggles and a dust mask, board a safe walkway, and never step between the joists. An installer is the better choice for a warm loft, a loft with damp, poor access or no boards, or blown insulation.
Some households can get help with the cost through government-backed schemes, which differ between England, Scotland, Wales and Northern Ireland and change often. Check the current options on gov.uk or with your local council before paying for the work.
Damp and condensation have their own guide: how to stop condensation on windows. More guides on insulation and the home are in the Housing section.