Cavity wall insulation problems are real but not universal. Millions of homes have had their cavities filled without trouble and are warmer for it. Where things go wrong, the cause is rarely the material itself: it is a wall that was never suitable, an installation that left gaps or bridges, or a defect elsewhere, such as a leaking gutter, that now pushes water across the cavity. Knowing which is which decides what to do next.
In short
| Question | Short answer |
|---|---|
| Does it usually work? | Yes, in a suitable wall, properly installed |
| Main causes of problems | Exposure to wind-driven rain, bridging of the cavity, gaps in the fill, existing defects in the outer wall |
| Typical signs | Damp patches on inside walls after rain, mould on cold spots, stains that match the brick pattern |
| First check | Gutters, downpipes, pointing and render: fix these before blaming the insulation |
| Guarantee | Installs are normally covered for 25 years by CIGA or an insurance-backed guarantee |
| If unresolved | Independent survey by a building surveyor; removal is a last resort |
How a cavity wall is supposed to work
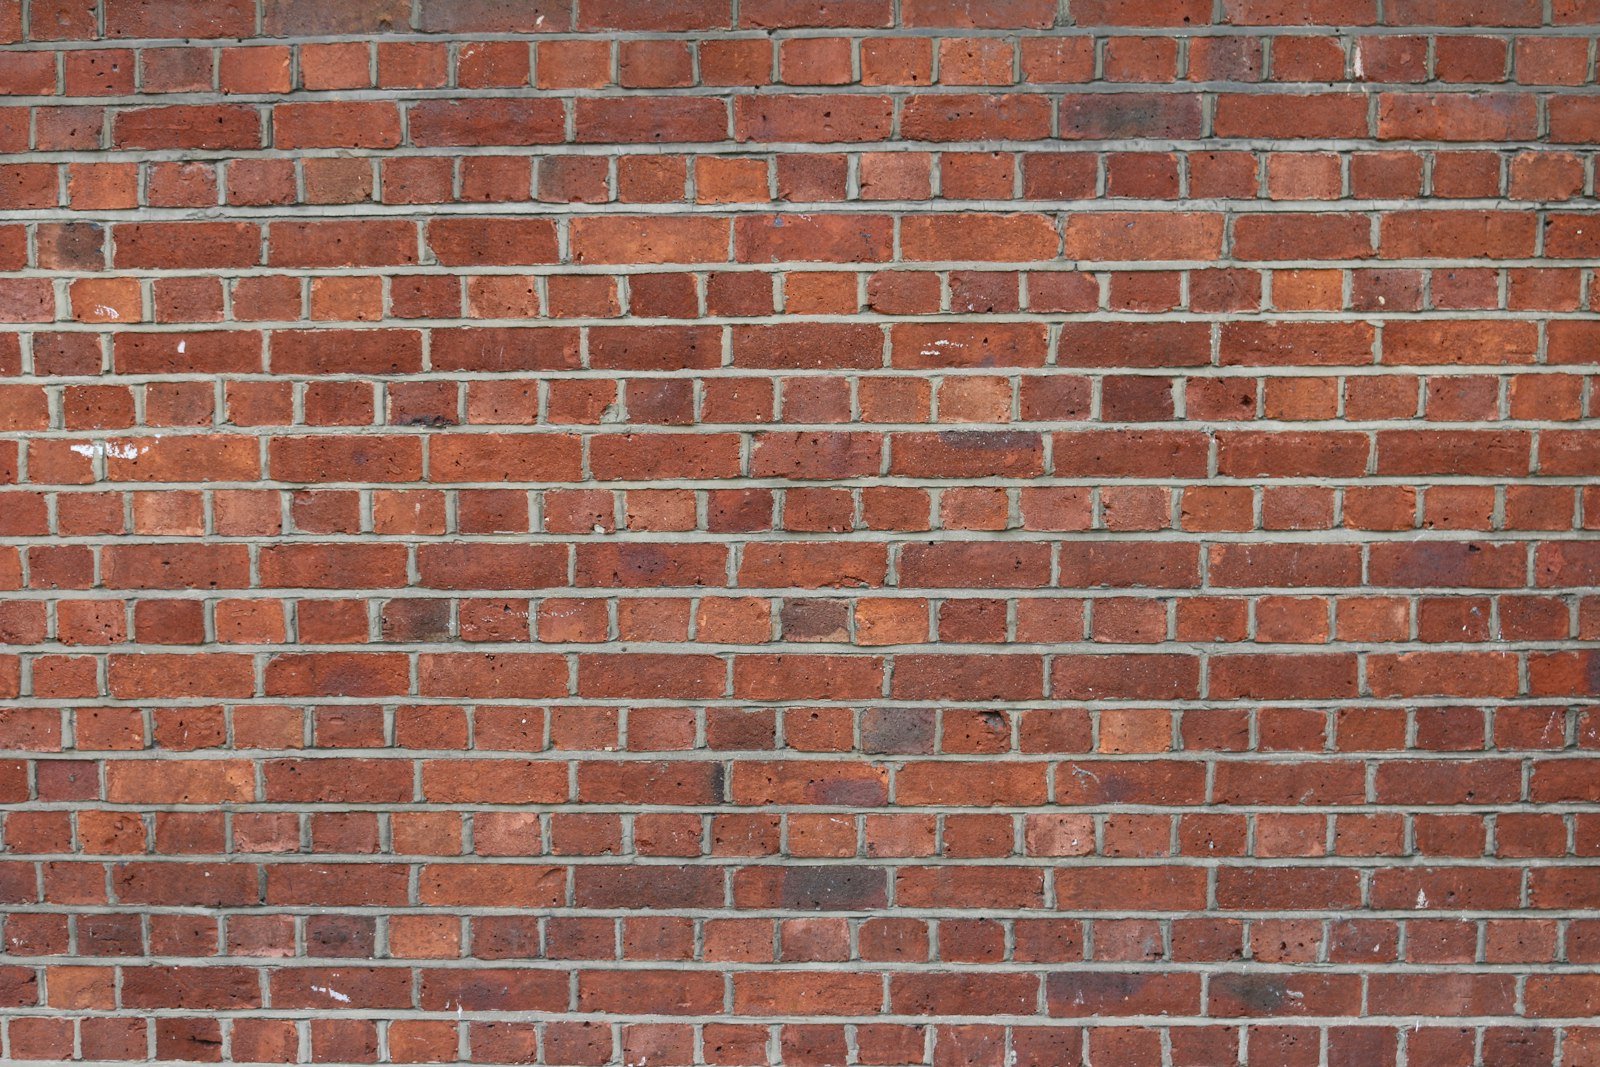
Most UK houses built after the 1920s have cavity walls: two leaves of brick or block with a gap between them. A long run of bricks laid lengthways, with no short ends showing, usually means a cavity wall. The gap was designed partly to stop rain: water that soaks through the outer leaf runs down its inner face and drains out at the bottom, without reaching the inner leaf.
Filling the cavity with insulation, usually mineral wool fibre, polystyrene beads or foam, cuts heat loss through the wall. The fill is designed to let water drain down rather than wick across. That works as long as the outer leaf keeps most of the rain out and the fill is continuous and clean.
What causes problems
Wind-driven rain
Walls on exposed sites, near the coast, on hills, or facing the prevailing wind, take far more rain. If the outer brick is porous or the pointing is poor, water can saturate it and track across the insulation to the inner wall. Surveyors use the exposure of the site to judge whether a wall is suitable for filling at all, and some exposed walls should not be filled with certain materials.
Bridging and debris
Mortar droppings, rubble or debris left in the cavity when the house was built can form a bridge between the two leaves. Water and cold follow it. Insulation pushed against such debris can make a hidden bridge worse.
Gaps and voids
If the fill does not reach every part of the wall, for example around windows, under the eaves or behind obstacles, the gaps become cold spots. Condensation and mould then appear in patches on the inside, often in corners and around window reveals.
Defects that were already there
Leaking gutters and downpipes, cracked render, failed pointing and damaged window sills all let more water into the outer leaf. A wall that coped before filling may not cope after, because the insulated cavity no longer dries in the same way.
Wall ties and structural issues
Older cavity walls rely on metal ties linking the two leaves. Corroded ties cause horizontal cracks in the mortar joints. This is a structural problem in its own right, not caused by insulation, but a surveyor should rule it out.
How to tell if your walls are affected
- Damp patches on inside walls that appear or worsen after rain, especially on the side facing the weather.
- Mould in corners, behind furniture or around windows on external walls.
- Stains or tide marks that follow the brick or mortar pattern.
- Walls that feel colder in some areas than others.
Damp has many causes. Condensation from daily life, a leaking pipe or rising damp at the base of the wall can look similar. Note when and where the marks appear, and compare with the weather.
What to do, step by step
- Fix the outside first. Clear and repair gutters and downpipes, check that water does not splash against the wall, repair pointing, render and sills. This alone solves some cases.
- Find your paperwork. Look for a guarantee certificate. Installations should be guaranteed for 25 years by the Cavity Insulation Guarantee Agency (CIGA) or by an independent insurance-backed guarantee, according to Energy Saving Trust guidance. CIGA can confirm whether your address is registered.
- Contact the installer or guarantor. Describe the problem in writing with photos and dates. They may inspect with a borescope, a camera inserted through a small hole in the mortar.
- Follow the complaints process if they refuse or do not respond. The UK government publishes a consumer guide to issues arising from cavity wall insulation installations, on gov.uk.
- Get an independent opinion from a building surveyor if the cause is disputed.
- Removal is a last resort. Extracting cavity insulation is disruptive and costly, and removing it without the guarantor’s agreement can invalidate the guarantee. Make sure it is the real cause before going down that route.
Before you have it installed
- Ask for a proper survey of the walls: exposure, condition of brickwork and pointing, existing damp, cavity width and cleanliness.
- Use an installer registered with an appropriate scheme such as TrustMark, and make sure you receive the guarantee certificate.
- Ask which material will be used and why it suits your wall.
- Fix gutters, pointing and render before the work, not after.
If you rent
If damp appears after insulation in a rented home, report it to your landlord in writing. In England, social landlords must investigate and fix damp and mould hazards within fixed timescales under the rules known as Awaab’s Law, in force since 27 October 2025.
For damp caused by everyday moisture rather than the walls, see how to stop condensation on windows. For the roof, see loft insulation. More guides are in the Housing section.